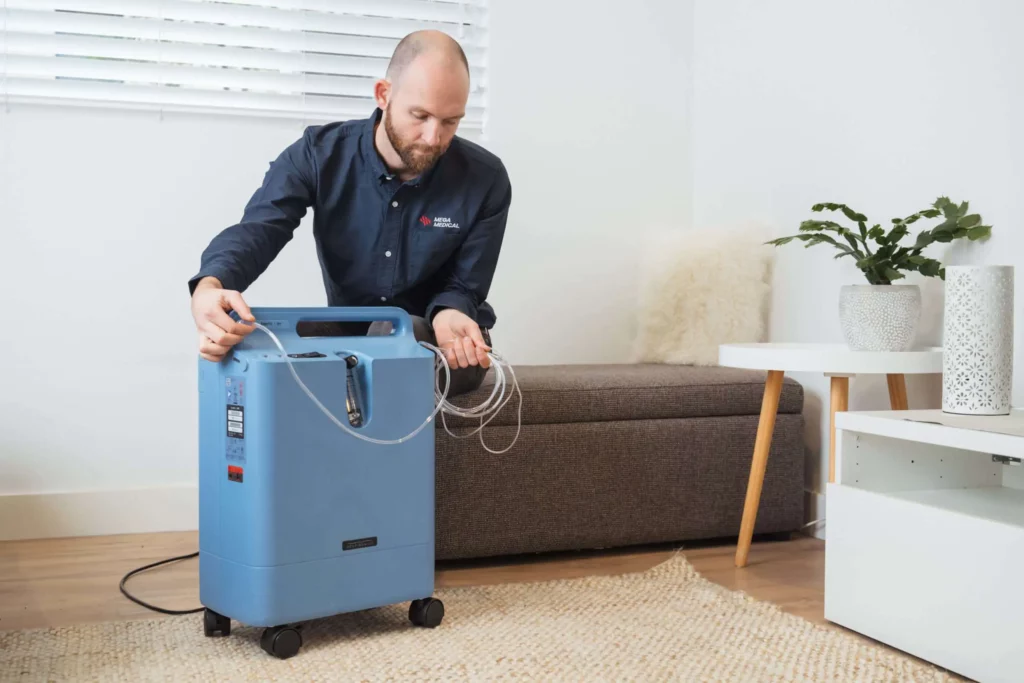
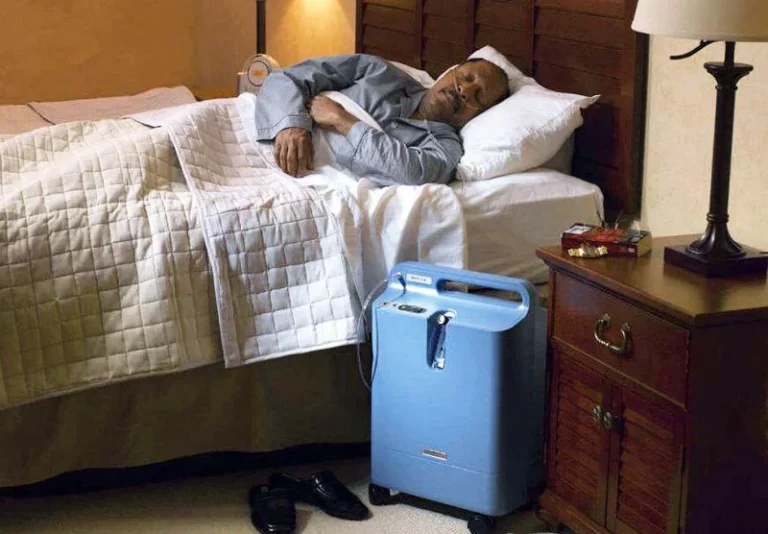
How Can Users Ensure Optimal Performance and Longevity of Their Philips Oxygen Concentrator?
Proper maintenance is the cornerstone of reliable oxygen therapy. A well-maintained Philips oxygen concentrator delivers consistent oxygen purity, operates efficiently, and serves users for years without costly repairs or premature replacement.
For individuals depending on supplemental oxygen therapy—whether managing COPD, respiratory conditions, or recovering from illness—device reliability isn’t optional. Regular care prevents bacterial buildup that could cause infections, ensures clean oxygen delivery free from contaminants, and protects the investment in this essential medical equipment.
The good news? Maintaining your Philips oxygen concentrator doesn’t require technical expertise. Simple, routine practices make the difference between a device that performs optimally and one that struggles to meet your oxygen needs.
This guide covers everything you need to know about long-term oxygen concentrator care:
Note: Some Philips models, like the EverFlo, feature no patient-maintained filters, simplifying home care whilst maintaining reliable performance through advanced internal filtration systems.
- Essential cleaning practices for the exterior and accessories
- Air filter management tailored to your environment
- Understanding when sieve bed maintenance becomes necessary
- Environmental factors that protect or damage your device
- Recognising when professional servicing is required
By dedicating just minutes each week to basic maintenance tasks, you’ll extend your concentrator’s lifespan, maintain oxygen purity levels, and avoid unexpected breakdowns. Whether you use a Philips EverFlo or another model, these proven maintenance strategies ensure your device remains a dependable partner in your respiratory health journey.
What Are the Essential Cleaning Practices for a Philips Oxygen Concentrator?
Proper cleaning and maintenance of a Philips oxygen concentrator starts with the device’s exterior. Use a damp, lint-free cloth to wipe down all surfaces, removing dust and debris that accumulate during daily operation. Avoid harsh chemicals, alcohol-based cleaners, or abrasive materials that can damage the plastic housing or interfere with ventilation openings.
Device Exterior Cleaning Protocol
The outer casing requires weekly attention at minimum. Gently wipe the control panel, air intake vents, and sides where dust tends to settle. Pay special attention to cooling vents, as blocked openings force the internal components to work harder and risk overheating. Never spray cleaning solutions directly onto the unit—always apply to the cloth first to prevent liquid from seeping into electrical components.
Nasal Cannula Hygiene Requirements
Nasal cannula hygiene demands more frequent attention than the device itself. Replace disposable cannulas every 2-4 weeks under normal use, or sooner if you notice discolouration, stiffness, or odours. For reusable cannulas, wash daily with mild soap and warm water, rinse thoroughly, and allow to air dry completely before next use.
Key cleaning schedule:
- Daily: Wipe nasal prongs with a clean, damp cloth
- Weekly: Deep clean reusable cannulas with soap solution
- Bi-weekly to monthly: Replace disposable cannulas entirely
Masks require similar care—wash cushions and headgear weekly in warm, soapy water and inspect for cracks or deterioration. Bacterial buildup on these accessories poses serious infection risks, particularly for individuals with compromised respiratory systems.
Infection Prevention Through Hygiene
Maintaining strict hygiene protocols is crucial in protecting against respiratory infections that can complicate existing conditions. Bacteria thrive in the warm, moist environment created by oxygen delivery systems, making regular cleaning essential to disrupt bacterial colonies before they reach harmful levels. This proactive approach significantly reduces pneumonia risk and other respiratory complications that could necessitate hospitalisation.
How Should Users Manage Air Filter Care on Their Philips Device?
Air filter replacement for Philips concentrators requires attention based on your specific environment and usage patterns. External particle filters need to be checked weekly in dusty conditions or monthly in cleaner environments, and they should be replaced immediately if you notice any discolouration or visible debris.
External Filter Inspection and Replacement Schedule
The maintenance routine for particle filters protects the internal components of your concentrator from contamination. To check the external filter, remove it according to the instructions for your model—most Philips units have filter compartments that are easy to access. Hold the filter up to a light source; if you can’t see through it clearly, it’s time to replace it.
Replacement frequency depends on:
- Household dust levels and air quality
- Presence of pets that shed fur
- Proximity to construction or industrial areas
- Seasonal pollen counts in your region
Understanding Internal vs. External Filters
Internal and external filters have different roles within your oxygen concentrator. External filters are the first line of defence, capturing larger particles such as dust, pet dander, and lint before they enter the device. These components can be serviced by users and do not require professional help for replacement.
Internal filters work deeper within the system, protecting sensitive mechanical and electrical parts. These typically need servicing every 12-18 months by certified technicians during professional maintenance visits. Trying to access internal filters without proper training may result in damage to delicate components. You may like to visit https://www.worksafe.qld.gov.au/safety-and-prevention/creating-safe-work/managing-risks/personal-protective-equipment-ppe/respiratory-protective-equipment-rpe to get about respiratory protective equipment.
The Critical Role of Filter Maintenance
Filters trap airborne contaminants that would otherwise compromise oxygen purity and harm internal mechanisms. Clean filters ensure optimal airflow through the concentrator, maintaining prescribed oxygen concentration levels. Clogged or dirty filters force the compressor to work harder, increasing energy consumption, generating excess heat, and accelerating component wear.
When Is Sieve Bed Maintenance Necessary for a Philips Oxygen Concentrator?
Sieve bed maintenance becomes necessary every 12–24 months, depending on usage patterns and manufacturer specifications. The sieve bed contains molecular sieves—specialised materials, such as zeolite, that separate nitrogen from ambient air, allowing concentrated oxygen to pass through to the user.
Understanding Sieve Bed Function
The sieve bed operates through a process called pressure swing adsorption. Zeolite crystals within the bed attract and trap nitrogen molecules whilst permitting oxygen molecules to flow freely. This separation mechanism is fundamental to how Philips oxygen concentrators deliver medical-grade oxygen at the prescribed concentration levels.
When the sieve bed deteriorates, users may notice:
- Declining oxygen purity levels (below 90%)
- Reduced oxygen flow rates
- Increased operational noise
- Frequent alarm activations
Replacement Intervals for Optimal Performance
Standard usage (8–12 hours daily): Sieve bed replacement typically occurs at 18–24 months
Heavy usage (continuous operation): Replacement may be required at 12–15 months
Light usage (4–6 hours daily): The sieve bed might last beyond 24 months
These intervals assume proper filter maintenance and appropriate environmental conditions. Operating the device in dusty environments or neglecting filter changes accelerates sieve bed degradation.
Impact on Oxygen Purity Maintenance
Worn sieve beds directly compromise oxygen purity, which can affect treatment efficacy. The Philips EverFlo model includes an oxygen purity indicator that alerts users when output quality drops below therapeutic levels. This monitoring system helps identify when sieve bed replacement Philips concentrator service becomes necessary.
Professional technicians should handle sieve bed replacement, as the procedure requires specialized tools and calibration equipment. Attempting DIY replacement risks damaging internal components and voiding warranty coverage. Certified Philips service centres ensure proper installation and verify oxygen concentration levels post-replacement, maintaining device efficiency for continued long-term use.
What Environmental Factors Should Be Considered to Protect the Device?
Proper device placement directly impacts your Philips oxygen concentrator’s performance and lifespan. Position your unit in a cool, dry location with adequate ventilation, maintaining at least 15-30 cm clearance from walls and furniture to prevent air intake blockages.
Optimal Placement Requirements
Your concentrator requires specific environmental conditions to function efficiently:
- Temperature control: Keep the device in rooms between 15-30°C to prevent internal component stress
- Dust-free zones: Avoid areas near open windows, workshops, or high-traffic spaces where airborne particles accumulate
- Direct sunlight protection: Position away from windows or heat sources that could raise internal temperatures
- Stable surfaces: Place on level, solid flooring to prevent vibrations and mechanical wear
Risks of Poor Environmental Care
Overheating represents one of the most significant threats to your device. When exposed to excessive heat or inadequate ventilation, internal components work harder to maintain oxygen output, accelerating wear on compressors and electrical systems. This strain reduces efficiency and may trigger safety shutdowns during critical therapy times.
Dust accumulation in poorly chosen locations forces filters to work overtime, potentially allowing particles to reach sensitive internal mechanisms. This contamination compromises oxygen purity and shortens component lifespan.
Moisture and Water Hazards
Never operate your Philips concentrator near water sources or in humid environments like bathrooms or laundry rooms. Electrical components inside the device are vulnerable to moisture damage, which can cause:
- Short circuits and permanent electrical failure
- Corrosion of internal wiring and connections
- Compromised safety features and oxygen output accuracy
Basements with high humidity levels or rooms with poor air circulation create condensation risks. If you notice moisture on the device exterior, relocate it immediately to a drier environment and allow it to dry completely before restarting. Read more about EverFlo Concentrator vs Other Models.

When Should Professional Servicing Be Contacted for a Philips Oxygen Concentrator?
Professional servicing Philips concentrator becomes necessary when your device displays warning signs that exceed routine cleaning and filter maintenance. Users should contact certified technicians immediately if they notice reduced oxygen flow, unusual noises, persistent alarm codes, or if the oxygen purity indicator shows declining output levels.
Several specific indicators signal the need for expert intervention:
- A noticeable decrease in oxygen flow despite clean filters suggests internal component issues requiring professional assessment.
- Error codes or flashing lights that persist after basic troubleshooting steps indicate system malfunctions beyond user-level repairs.
- Unusual mechanical sounds—such as grinding, clicking, or excessive vibration—point to compressor or internal hardware problems that demand trained technician evaluation.
Troubleshooting oxygen flow issues starts with checking obvious problems: verify power connections, inspect tubing for blockages, and confirm filter cleanliness. If these basic checks don’t resolve the issue, professional diagnosis becomes essential. Attempting complex internal repairs without proper training risks voiding warranties and potentially damaging critical components like the sieve bed or compressor system.
Philips recommends following manufacturer guidelines for scheduled professional check-ups, typically every 12-24 months depending on usage intensity. These preventive maintenance visits allow certified technician repair specialists to inspect internal filters, test oxygen purity levels, examine electrical components, and assess sieve bed condition before problems escalate.
Contact Philips customer support directly through their helpline or authorised service centres for warranty-covered repairs. Only use certified technicians familiar with Philips oxygen concentrator models, as they possess specialised knowledge of device-specific components and proper calibration procedures. Unauthorised repairs may compromise device safety and oxygen delivery accuracy.
Keep detailed records of all maintenance activities, including professional service dates and any repairs performed. This documentation helps technicians diagnose recurring issues and ensures compliance with warranty requirements for long-term device protection.
Conclusion
Regular maintenance turns your Philips oxygen concentrator from just a medical device into a trustworthy partner for oxygen therapy. The long-term benefits that Philips concentrator users enjoy—such as consistent oxygen purity and a longer lifespan for the device—are completely dependent on how dedicated you are to cleaning it regularly, managing the filters, and being mindful of its surroundings.
Knowing how to properly maintain a Philips oxygen concentrator for long-term use gives you the power to manage your respiratory health. Every time you clean it, check the filters, or place it correctly, you’re ensuring that you’ll have a steady supply of oxygen whenever you need it.
Start putting these maintenance practices into action today—your Philips concentrator is built to last, but only with the right care can it reach its full potential and provide you with reliable service for many years to come.


